The If/Else Node
Hands-On 1: Set up the Crossroads
Let’s upgrade our assistant so it can tell the difference between Dify-related emails and Everything else.Insert the Node
Hover over the line between the Start and Knowledge Retrieval nodes. Click the Plus (+) icon and select the If/Else node.
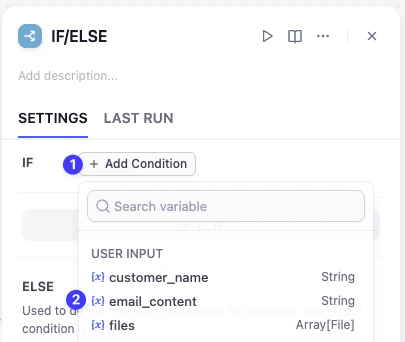
Understanding the Traffic LightWhen setting conditions, Dify offers several ways to judge information, much like the different signals at a crossroads:
- Is / Is Not Like a perfect key for a lock. The content must match your value exactly.
- Contains / Not Contains Like a magnifying glass. It checks if a specific keyword exists anywhere in the text. This is what we are using today.
- Starts with / Ends with Check if the text begins or ends with specific characters.
- Is Empty / Is Not Empty Check if the variable has any content. For example: Checking if a user actually uploaded an attachment. Understanding these helps you set accurate and flexible rules, building a much smarter workflow!
Hands-On 2: Plan Different Paths
Now that we have the crossroad here, we need to decide what happens on each road.A. The Dify-Related Email Track (IF Branch)
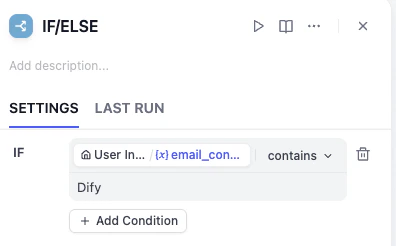
Click the plus (+) icon on the right side of the IF branch, drag out a line, and connect it to Knowledge Retrieval node. What this means: When the email contains the word Dify, the flow will execute the professional reply process we built in the last lesson (which looks up information in the Knowledge Base).
B. The Unrelated Email Track (ELSE Branch)
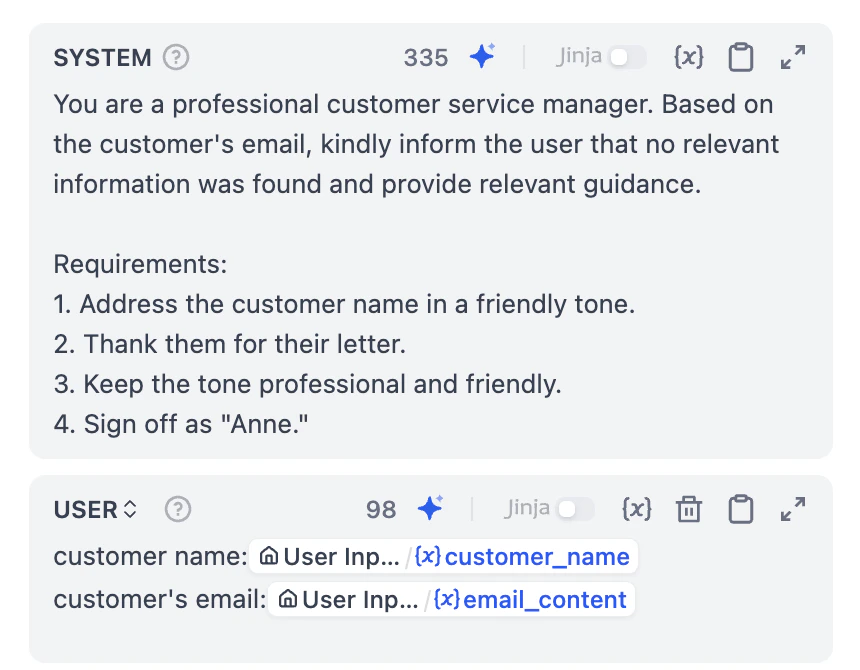
For emails that are not related or mention Dify, we want to create a simple, polite, and general reply process.Add User Message
- Click Add Message button below system.
- In the User Message box, type customer name:.
- Press
/on your keyboard. - You can see the Variable Selection menu pops out, and click
customer_name. - Press Enter to start a new line, and type email content:
- Press the / key again and click on
email_content.
Variable Aggregator
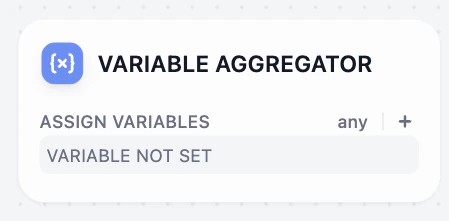
Hands-On 3: Add Variable Aggregator
Add the Aggregator
- Select the connection line between the End Node and the LLM node and delete it.
- Right-click on the canvas, select Add Node, and choose the Variable Aggregator node.
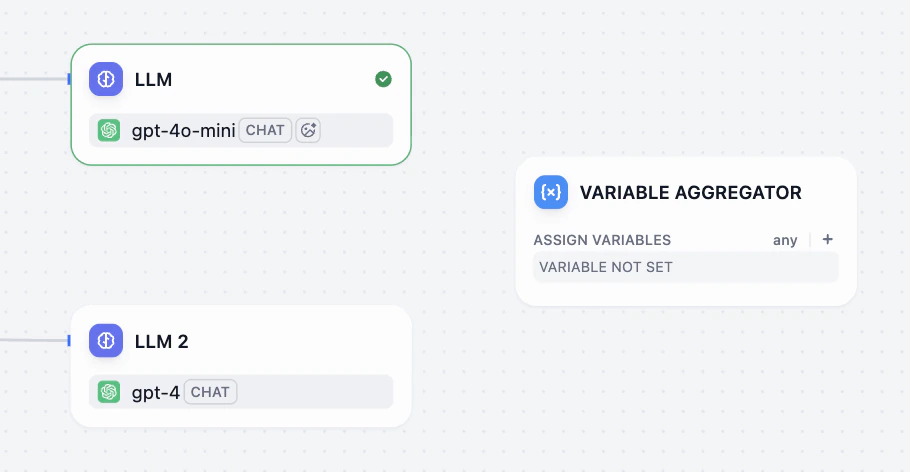
Assign the Output
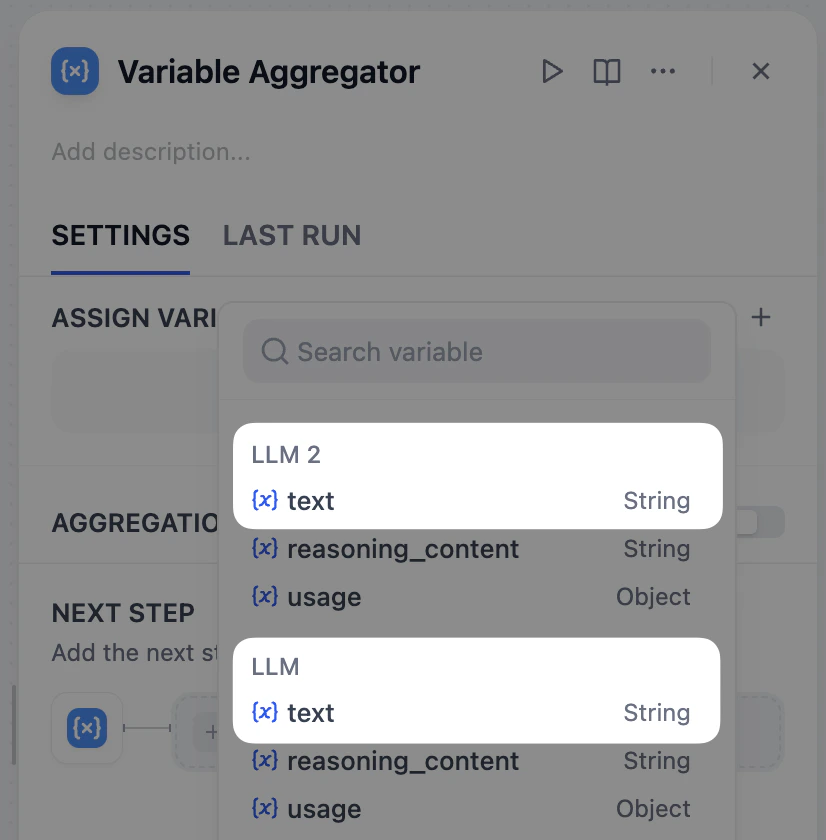
- Click the Variable Aggregator node.
- Click the plus (+) icon next to Assign Variables.
- Select the text from LLM 1 AND the text from LLM 2.
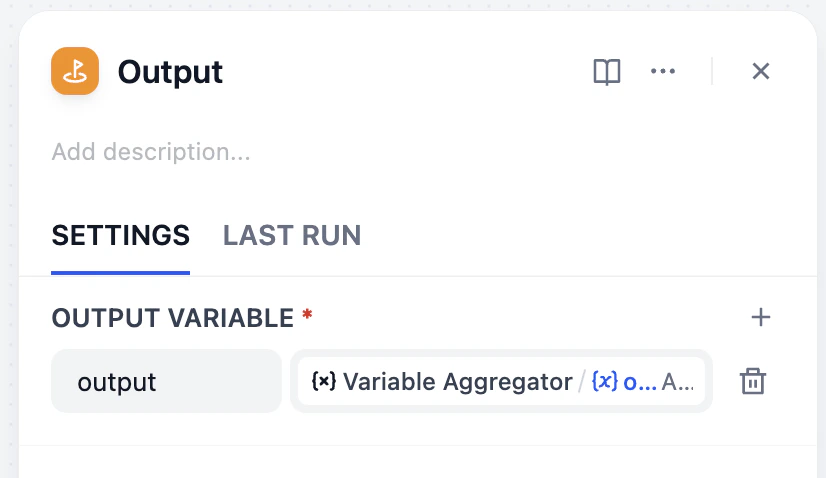
The Final Step
- Connect the Variable Aggregator to the Output node.
- Update the Output Variable to the Variable Aggregator’s result instead of previous LLM results.