Create the App
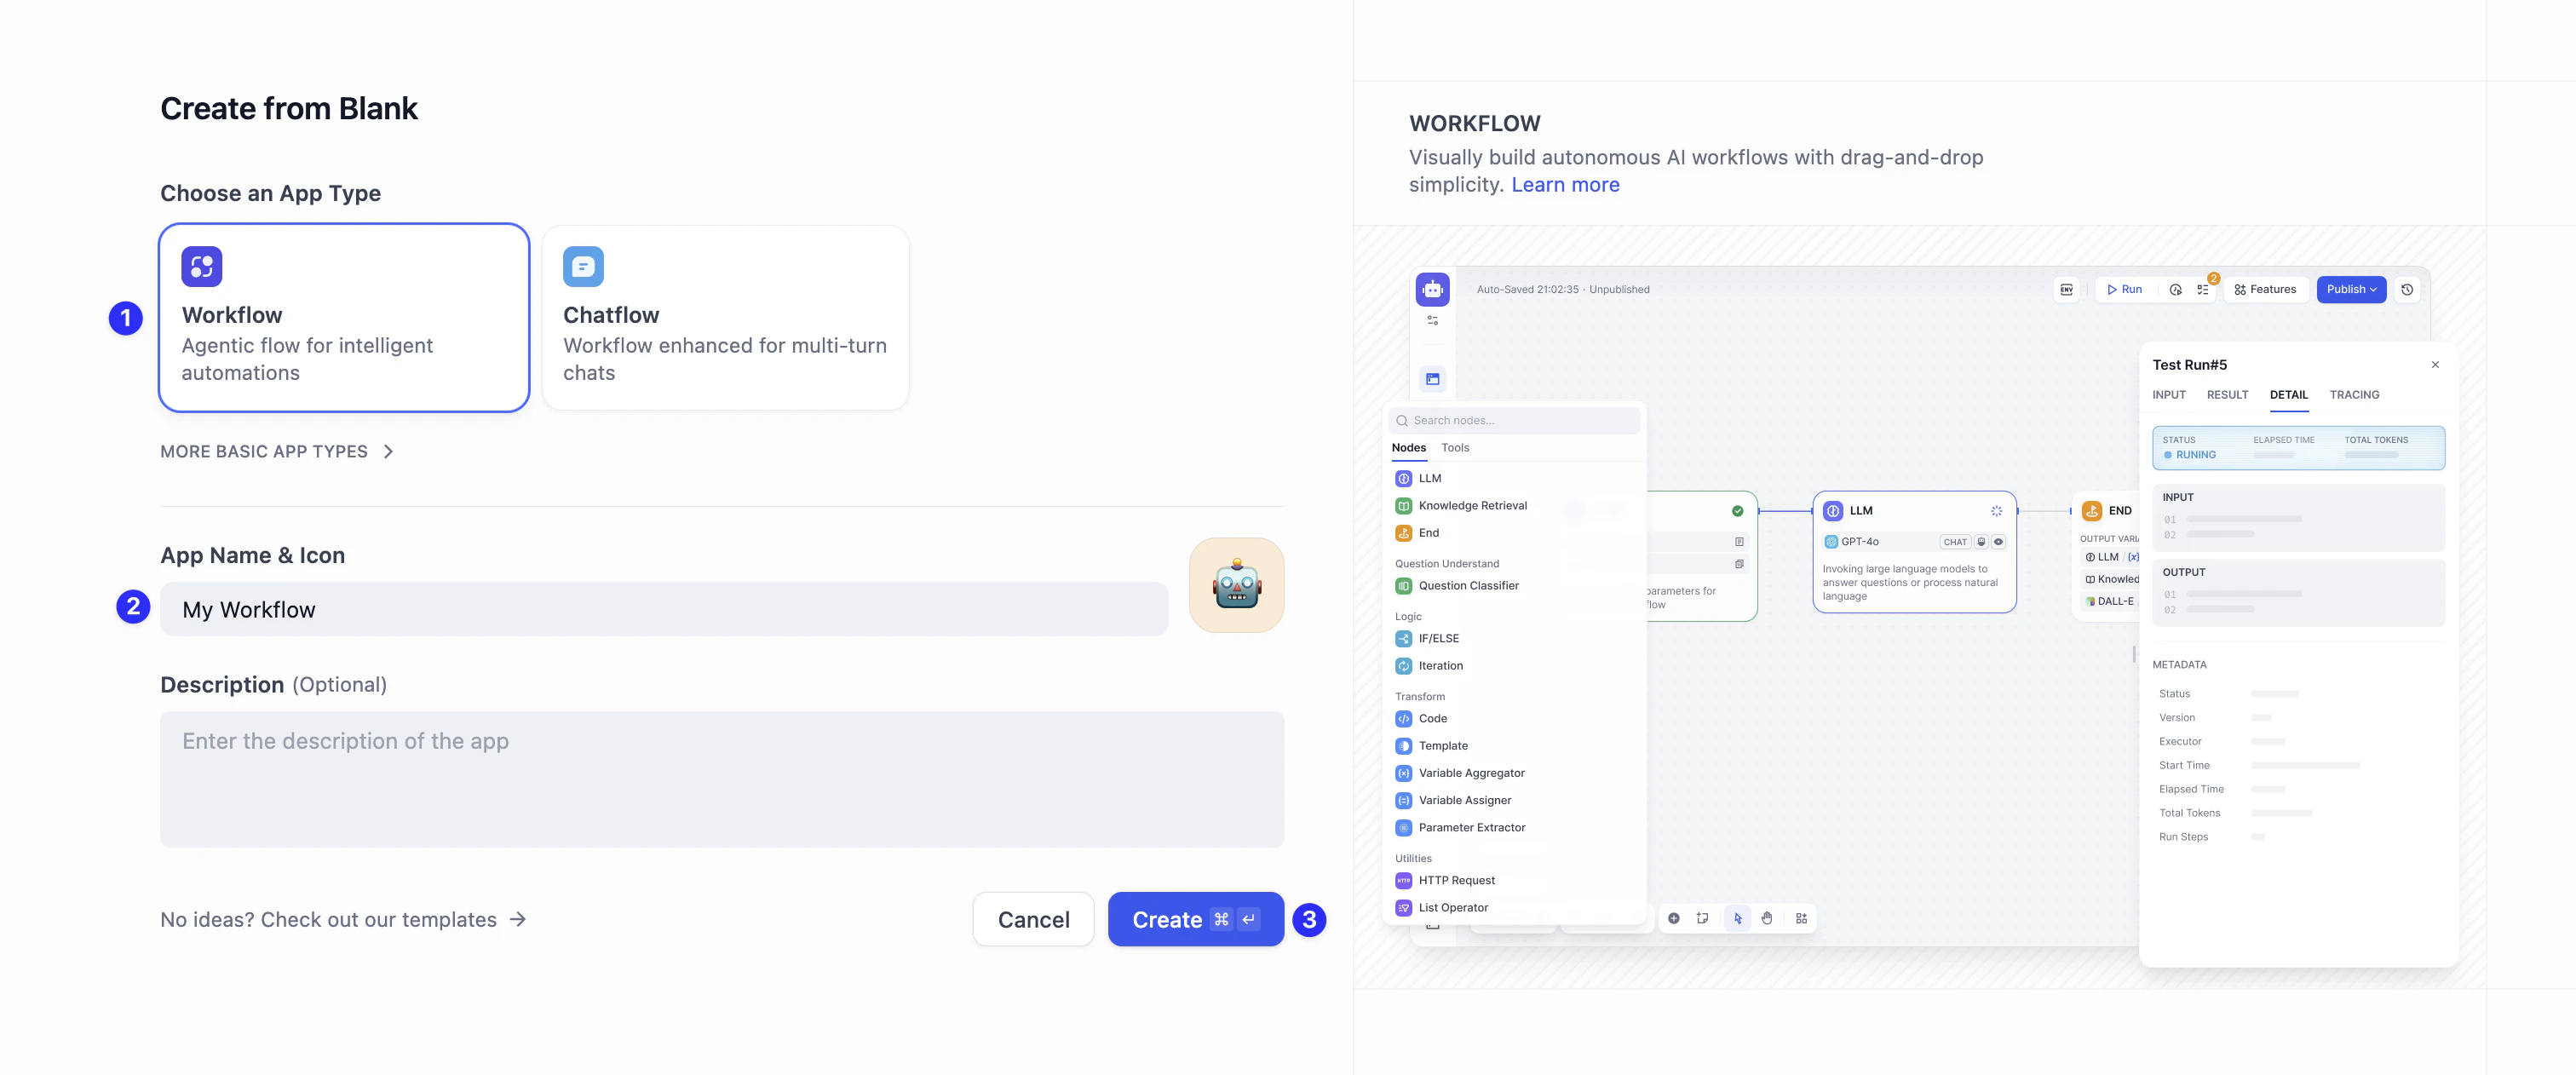
Create from Blank
Click on Studio at the top of the screen. Under Create App on the left, click Create from Blank.
Choose Start Node Type
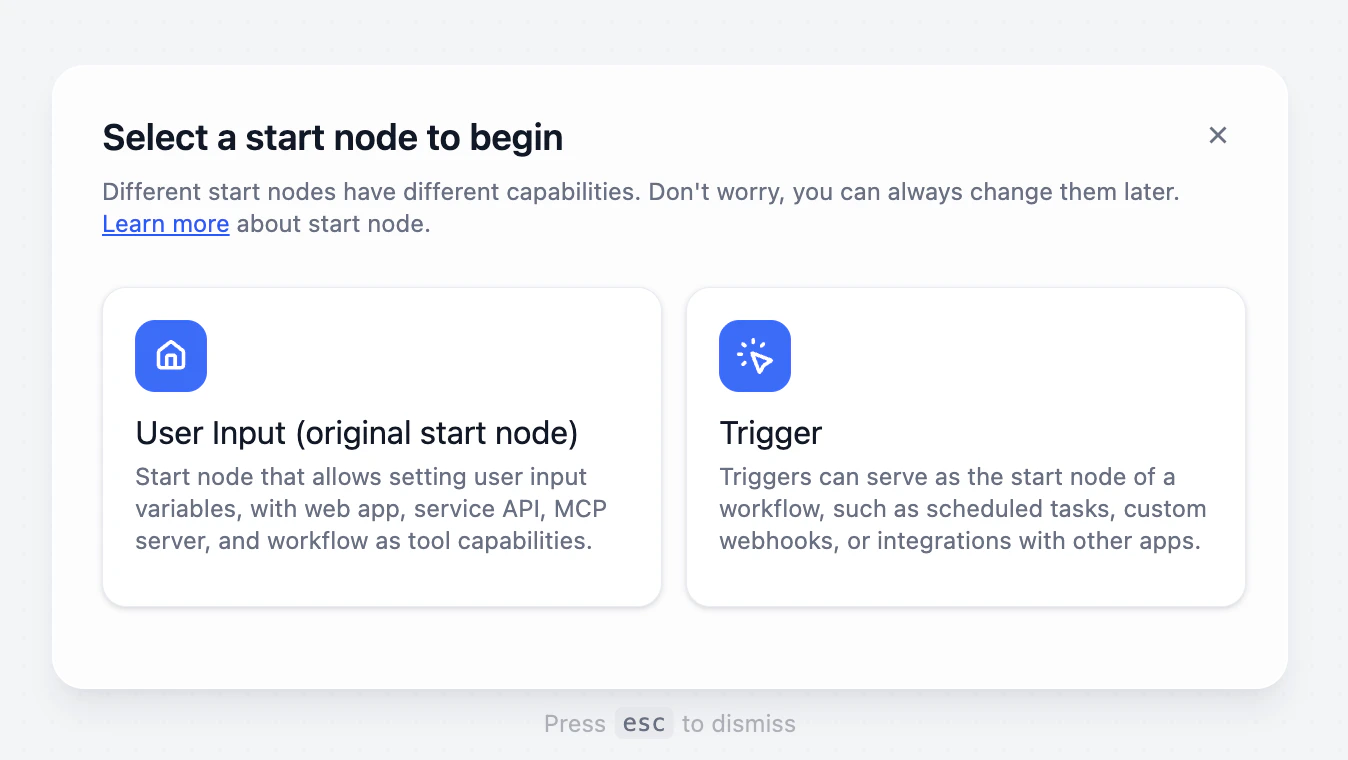
Click User Input, and you’ll see a new popup window. There are two options here that decide how your app starts running: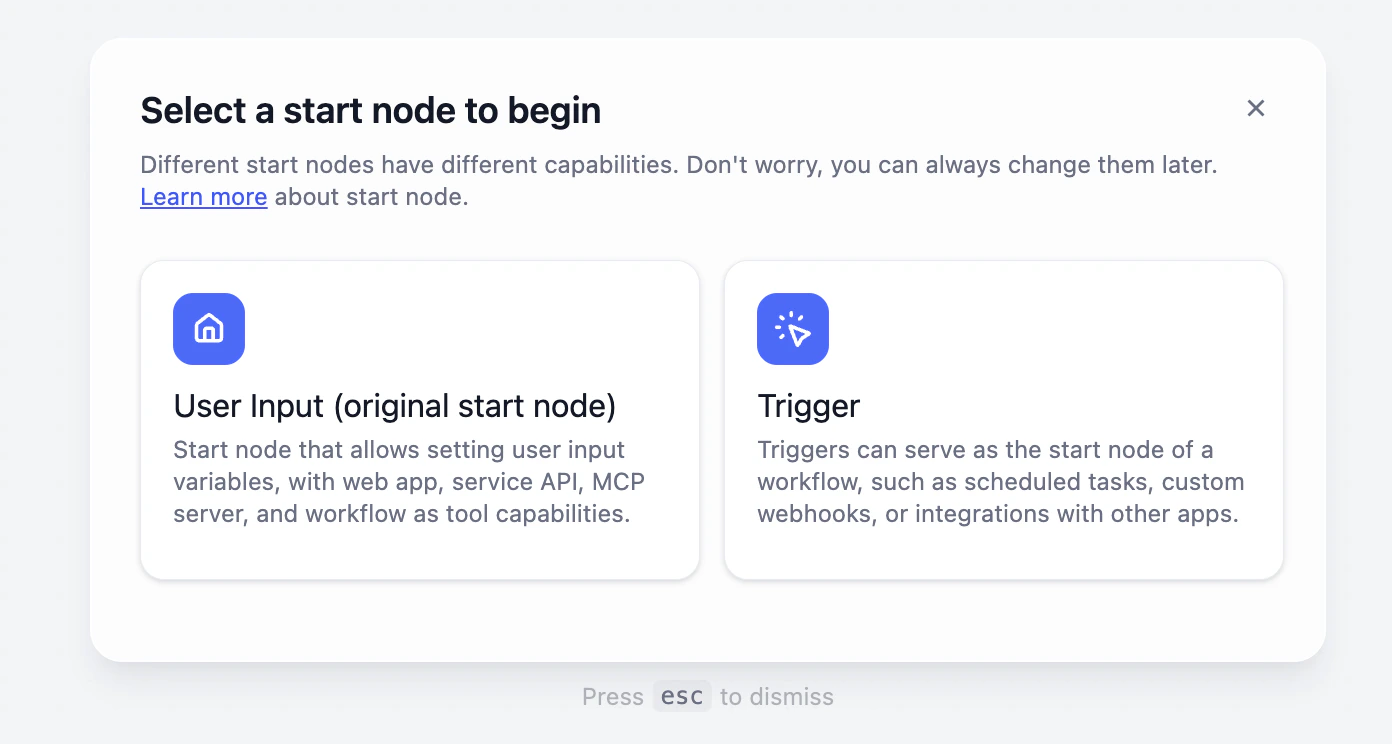
- User Input This is Manual Mode. The workflow only starts working when you (the user) type something into the chat box. Best for: Most AI apps. For example, chatbots, writing assistants, translation, etc.
- Trigger This is Automatic Mode. It runs automatically based on a signal (like 8:00 AM every morning, or a specific event). Best for: Repetitive task that runs on a specific time, or run this workflow after a task is completed else where. For example, daily news summary.
Meet the Orchestration Canvas
After selecting the Start node, you will see a large blank area. This is your orchestration canvas where you will design, build, and test your workflow.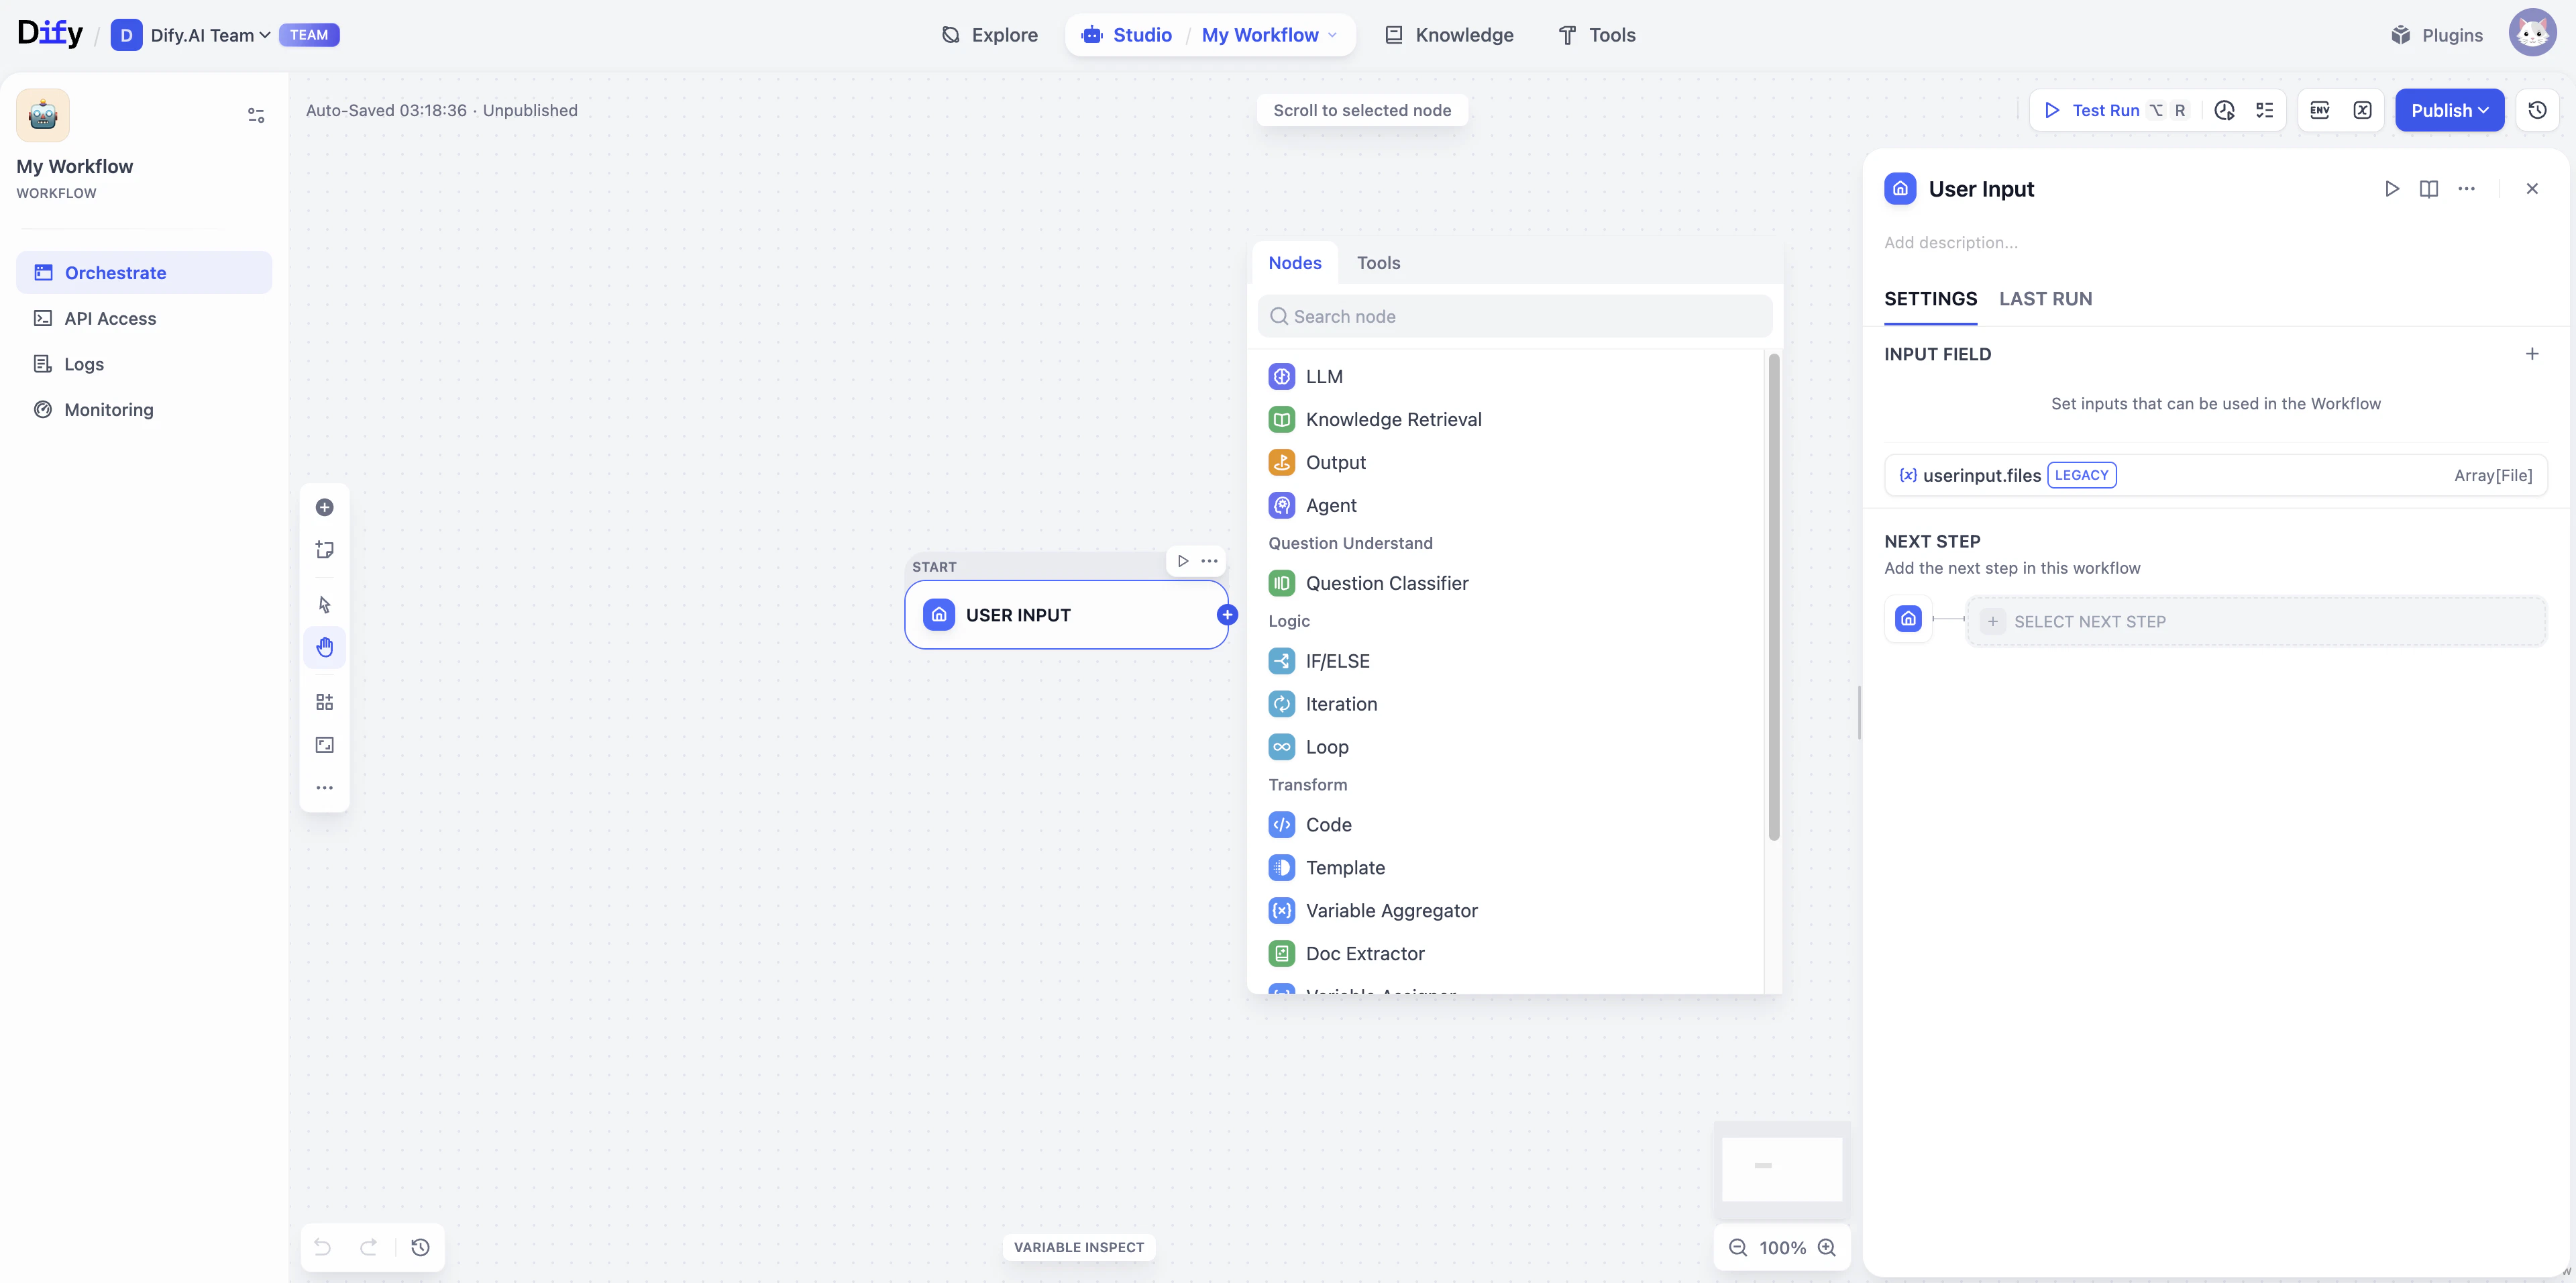
The Start Node
Core Concept: Variables
Inside the Start Node, you will see the word Variable. Don’t panic! You can think of a variable as a Storage Box with a Label. Each box is designed to hold a specific type of information: For example, if you are building a Travel Planner, you need the user to provide two pieces of information:Destination and Travel Days.
User A might want to go to Japan for 5 days. User B might want to go to Paris for 3 days.
Every user provides different content, so every time the app runs, the stuff inside these boxes changes.
This is the meaning of a Variable—digging a hole for the user to fill, helping your workflow to handle different requests flexibly every time.
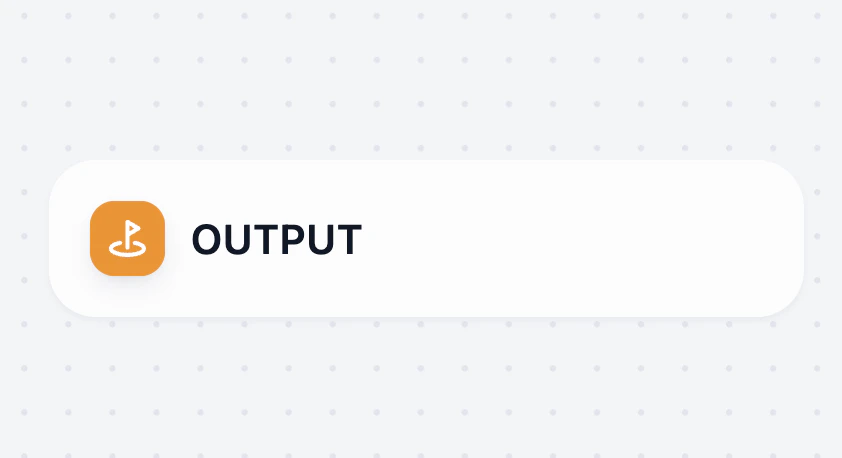
The End Node (Output)
Hands-On Practice: Start Building an AI Email Assistant
Let’s build the basic framework for an AI Assistant that helps you write emails.Create the App
You can either:
- Continue on the canvas you just opened, or
- Go back to Studio → Create Blank App → select Workflow, and name it Email Assistant (Remember to select User Input in the popup!)
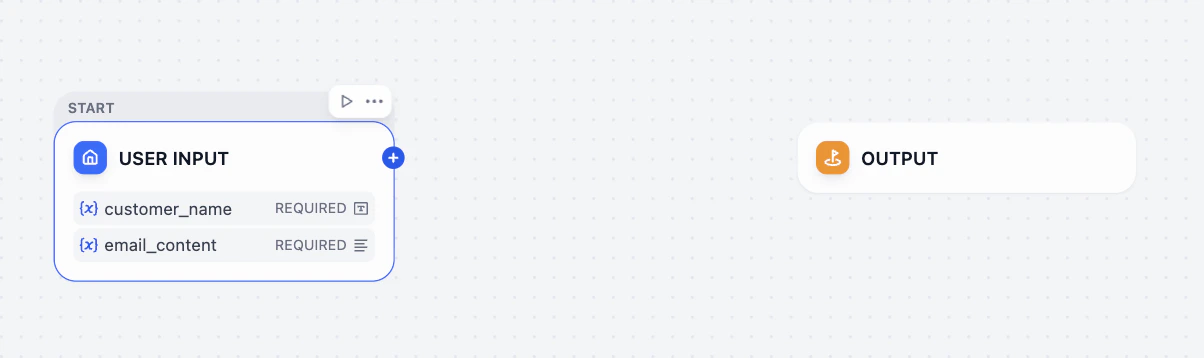
Configure the Start Node (Prep Ingredients)
If you need AI to help you with a email reply, what information do you need to give it?That’s right: usually the Customer’s Name and the Original Email Content.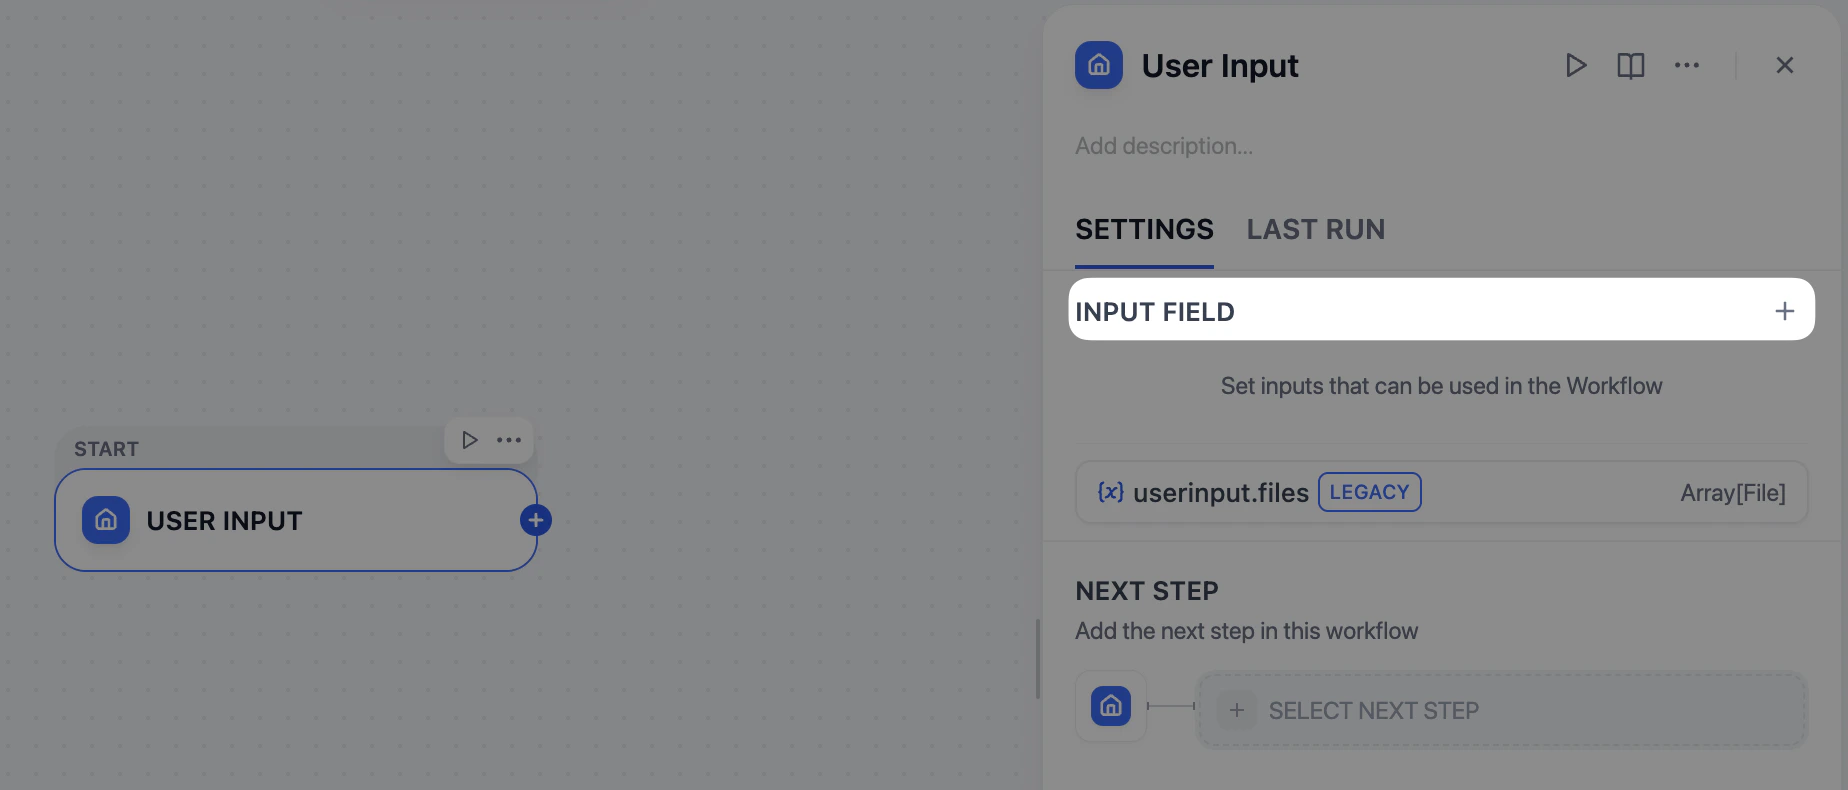
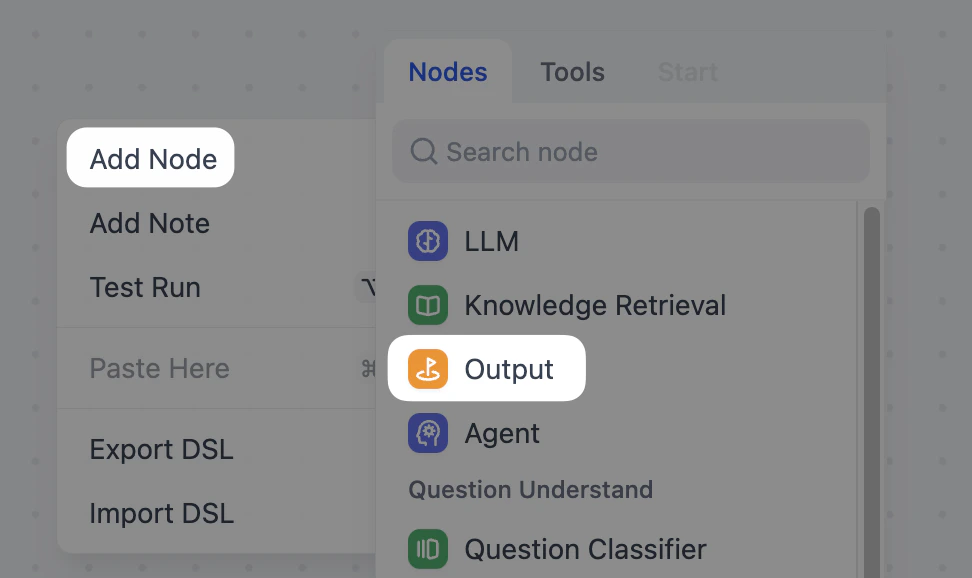
- Click on the Start node. In the panel on the right, look for Input Field and click the + button.
-
In the popup, we will create two variables (two storage boxes):
Variable 1 (For the Customer Name)
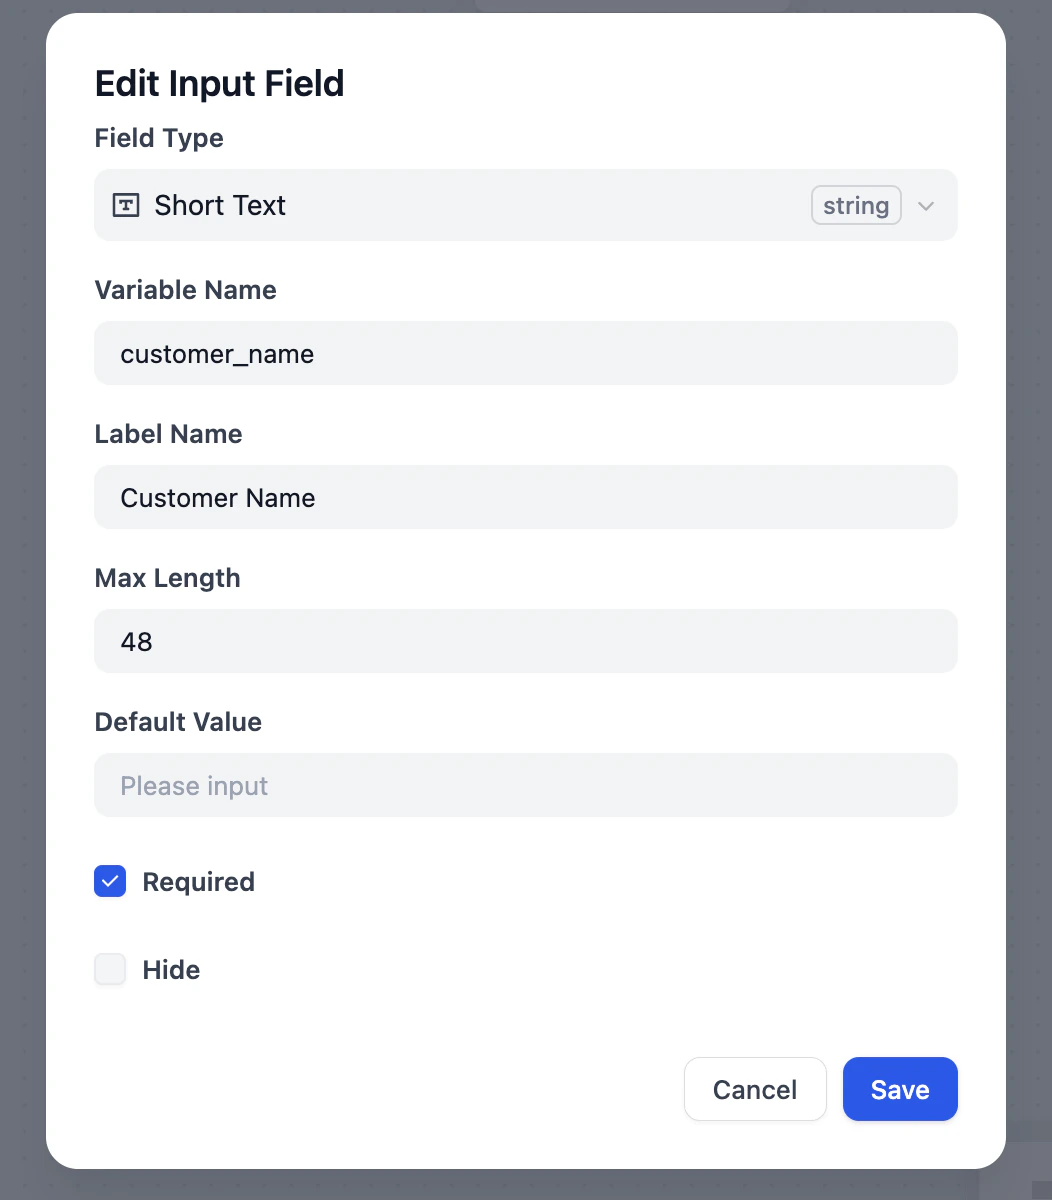
- Field Type: Text (Short Text)
- Variable Name:
customer_name - Label Name: Customer Name
- Keep other options as default
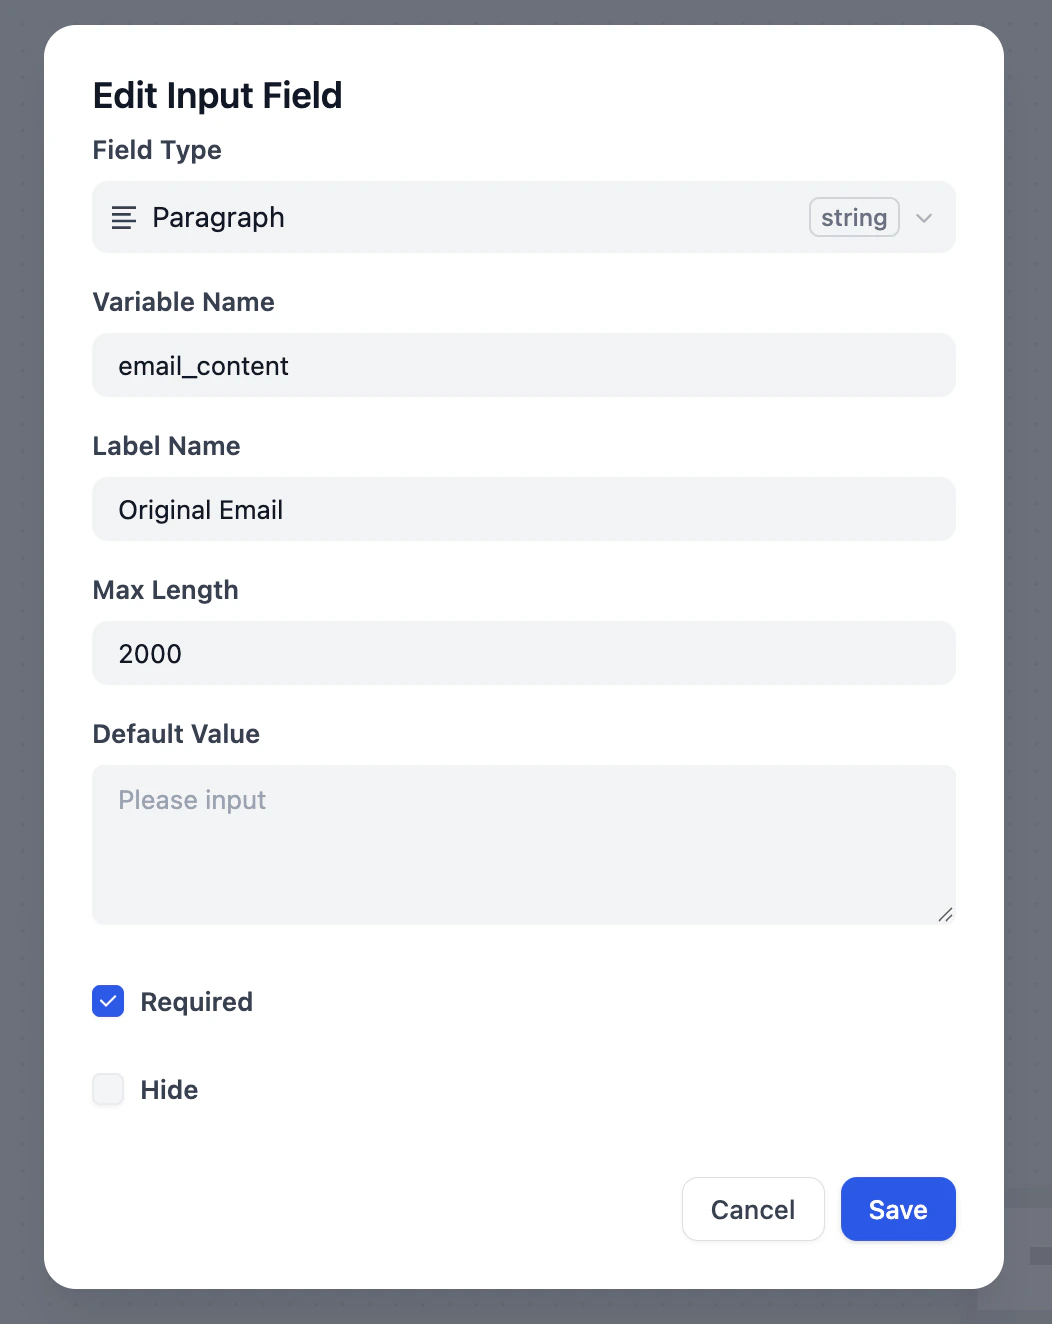
- Field Type: Click the dropdown and select Paragraph (Since emails are usually long, a Paragraph box is bigger and holds more text)
- Variable Name:
email_content - Label Name: Original Email
- Max Length: Manually change this to 2000 to ensure it fits long emails