

本文档由 AI 自动翻译。如有任何不准确之处,请参考 英文原版。
背景
Dify 中的 OAuth 涉及两个独立的流程,开发者需要理解并为其进行设计。流程 1:OAuth 客户端设置(管理员/开发者流程)
在 Dify Cloud 上,Dify 团队会为热门工具插件创建 OAuth 应用并设置 OAuth 客户端,省去用户自行配置的麻烦。自部署 Dify 实例的管理员必须完成此设置流程。
创建 Google Cloud 项目
创建 Google Cloud 项目
- 前往 Google Cloud Console 创建新项目,或选择现有项目。
- 启用所需的 API(例如 Gmail API)。
配置 OAuth 同意屏幕
配置 OAuth 同意屏幕
- 导航至 APIs & Services > OAuth consent screen。
- 为公共插件选择 External 用户类型。
- 填写应用名称、用户支持邮箱和开发者联系方式。
- 如需要,添加授权域名。
- 测试阶段:在 Test users 部分添加测试用户。
创建 OAuth 2.0 凭证
创建 OAuth 2.0 凭证
- 前往 APIs & Services > Credentials。
- 点击 Create Credentials > OAuth 2.0 Client IDs。
- 选择 Web application 类型。
- 将生成
client_id和client_secret。保存这些凭证。
在 Dify 中输入凭证
在 Dify 中输入凭证
在 OAuth 客户端配置弹窗中输入 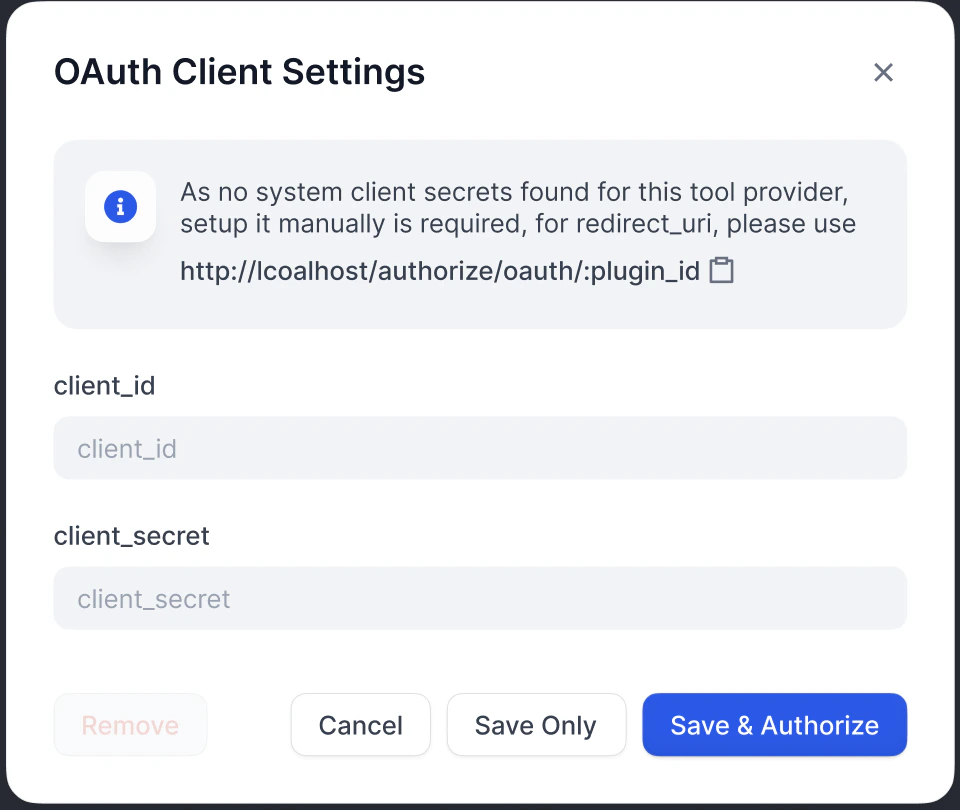
client_id 和 client_secret,以将工具提供者设置为客户端。授权重定向 URI
授权重定向 URI
在 Google OAuth 客户端页面上注册 Dify 生成的重定向 URI: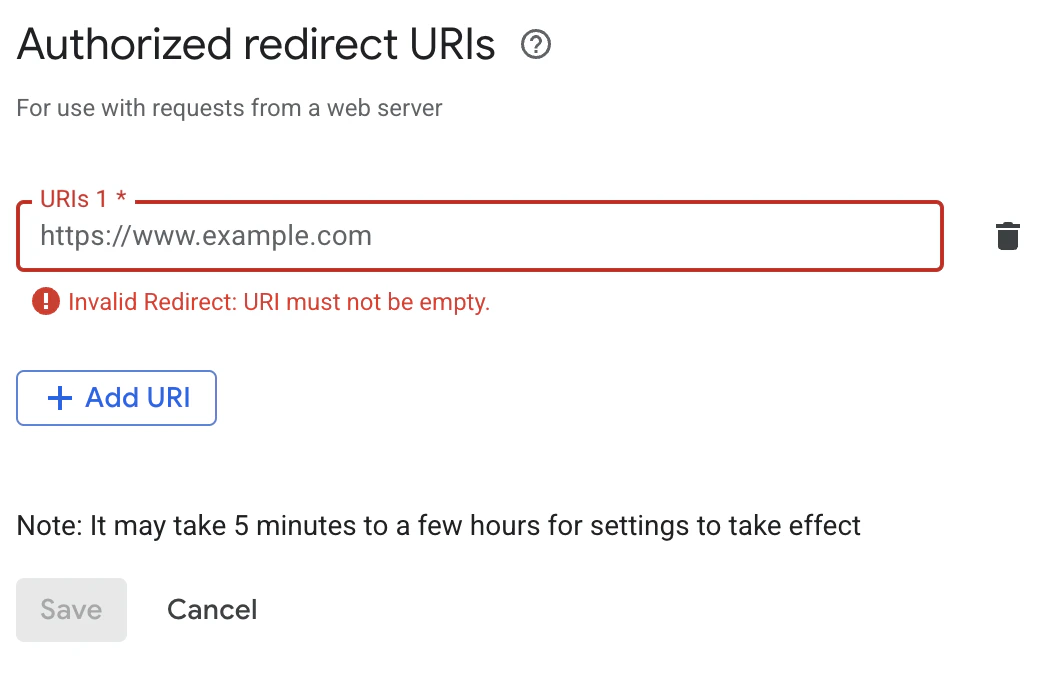
Dify 在 OAuth 客户端配置弹窗中显示 对于自部署 Dify,
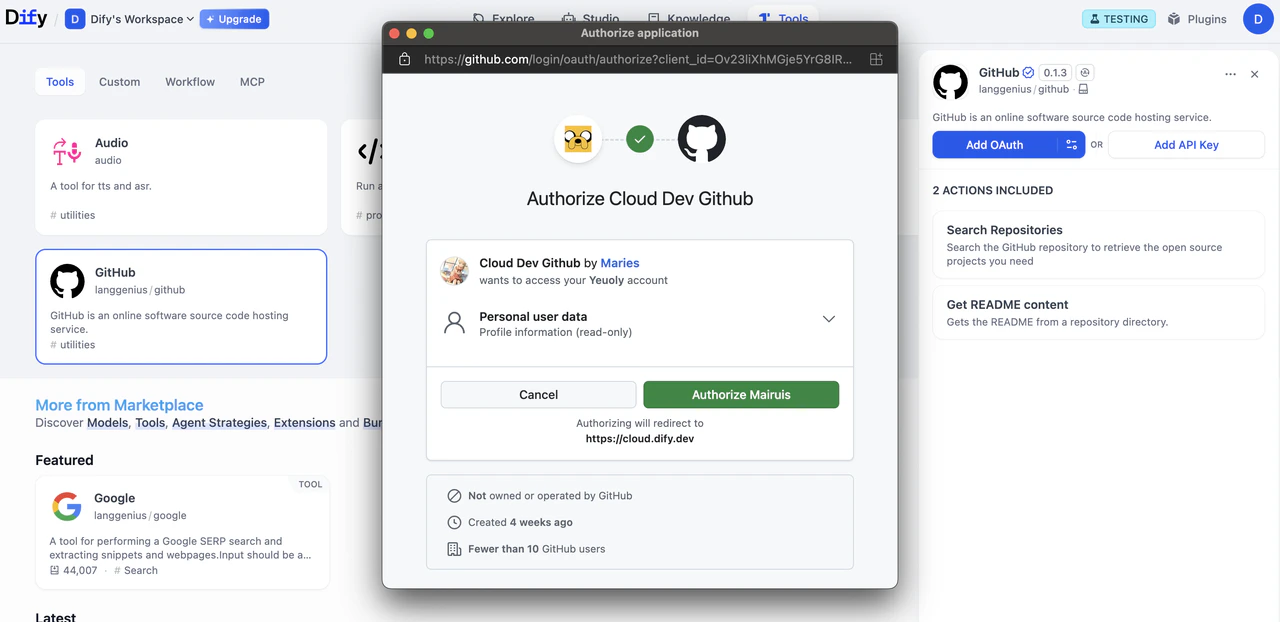
redirect_uri。它通常遵循以下格式:your-dify-domain 应与 CONSOLE_WEB_URL 保持一致。流程 2:用户授权(Dify 用户流程)
配置 OAuth 客户端后,Dify 用户可以授权你的插件访问他们的个人账户。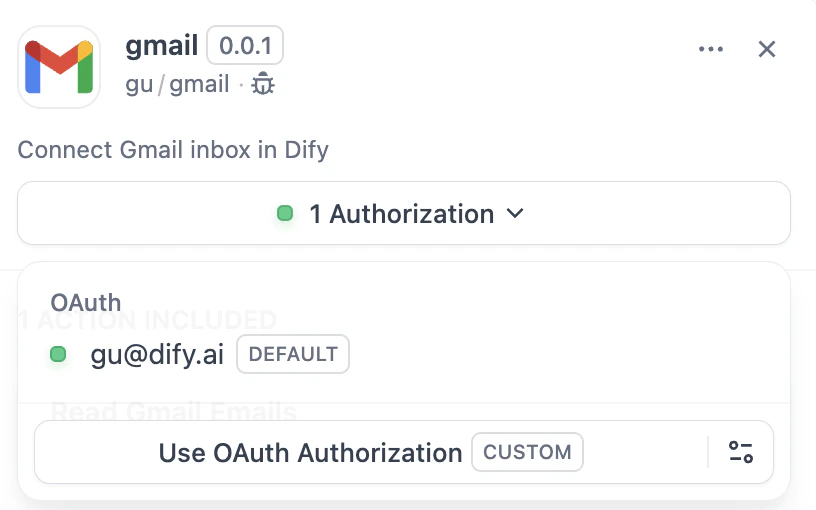
实现
1. 在提供者清单中定义 OAuth Schema
提供者清单中的oauth_schema 部分告诉 Dify,插件的 OAuth 设置需要哪些凭证,以及 OAuth 流程会产生什么。设置 OAuth 需要两个 schema:
client_schema
定义 OAuth 客户端设置的输入:gmail.yaml
url 字段链接到第三方服务的帮助文档,为管理员和开发者在设置过程中提供参考。credentials_schema
指定用户授权流程产生的内容(Dify 自动管理这些):同时包含
oauth_schema 和 credentials_for_provider,可同时提供 OAuth 和 API 密钥两种认证选项。2. 在工具提供者中完成必需的 OAuth 方法
在实现ToolProvider 的位置添加以下导入:
ToolProvider 类必须实现以下三个 OAuth 方法(以 GmailProvider 为例):
3. 在工具中访问令牌
在Tool 实现中使用 OAuth 凭证发起经过身份验证的 API 调用:
self.runtime.credentials 自动提供当前用户的令牌。Dify 自动处理刷新。
对于同时支持 OAuth 和 API_KEY 认证的插件,可使用 self.runtime.credential_type 来区分这两种认证类型。
4. 指定正确的版本
OAuth 需要较新版本的 SDK 和 Dify。在requirements.txt 中固定插件 SDK 版本:
manifest.yaml 中,添加最低 Dify 版本: