Upload Process
-
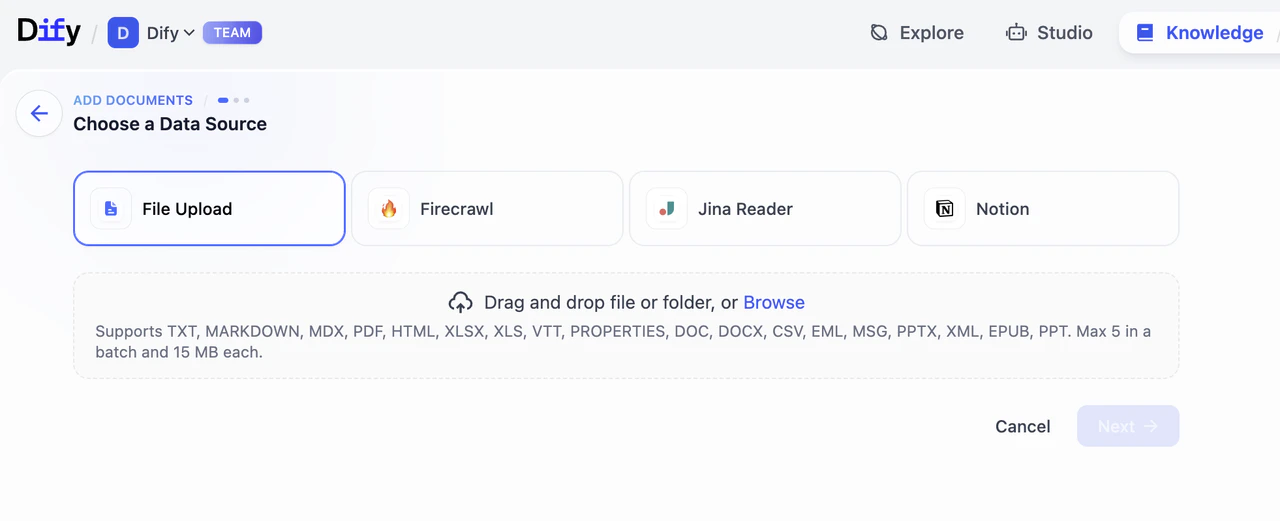
Select Data Source
Choose from the data source types configured in your pipeline. Dify currently supports 4 types of data sources: File Upload (pdf, docx, etc.), Online Drive (Google Drive, OneDrive, etc.), Online Doc (Notion), and Web Crawler (Jina Reader, Firecrawl). Please visit Dify Marketplace to install additional data sources. -
Fill in Processing Parameters and Preview
If you configured user input fields during pipeline orchestration, users will need to fill in the required parameters and variables at this step. After completing the form, click Preview to see chunking results. Click Save & Process to complete knowledge base creation and start data processing.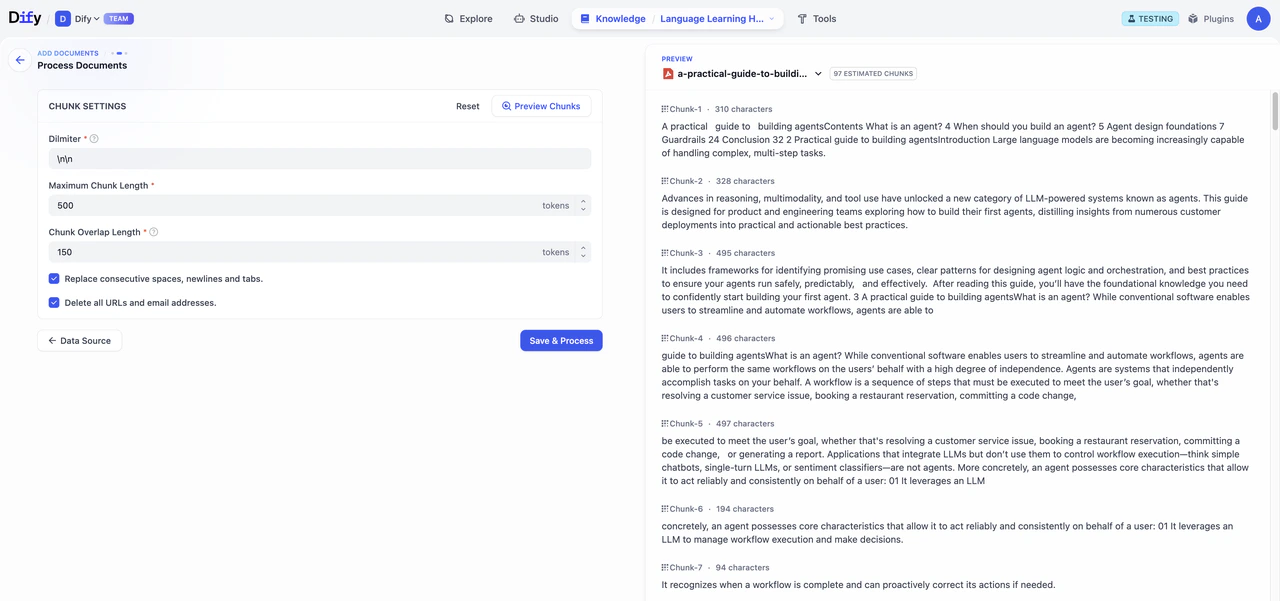
-
Process Documents
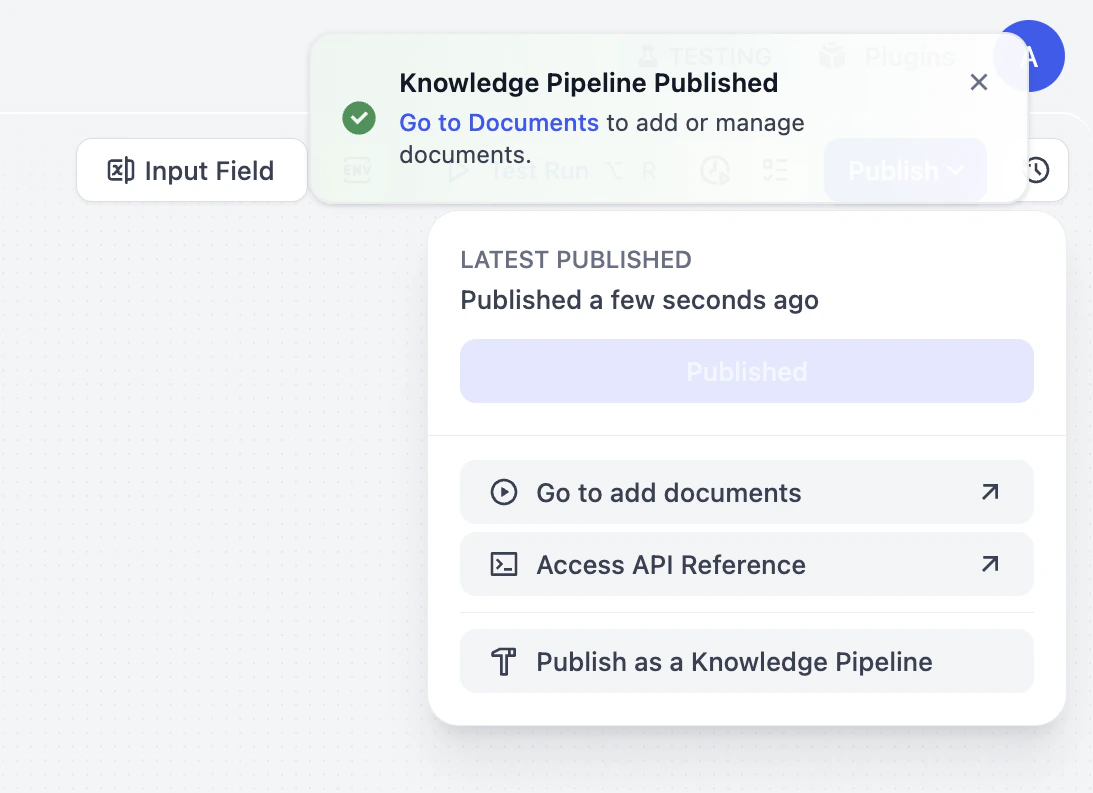
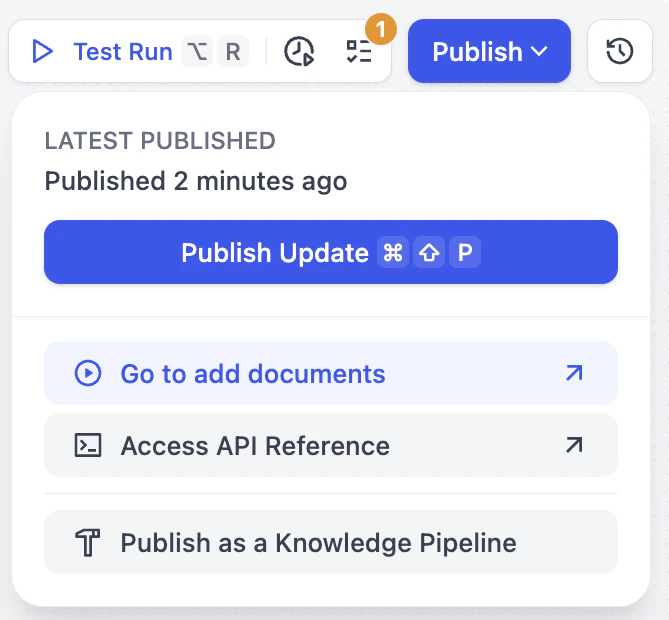
Track the progress of document processing. After embedding is completed, click Go to Document.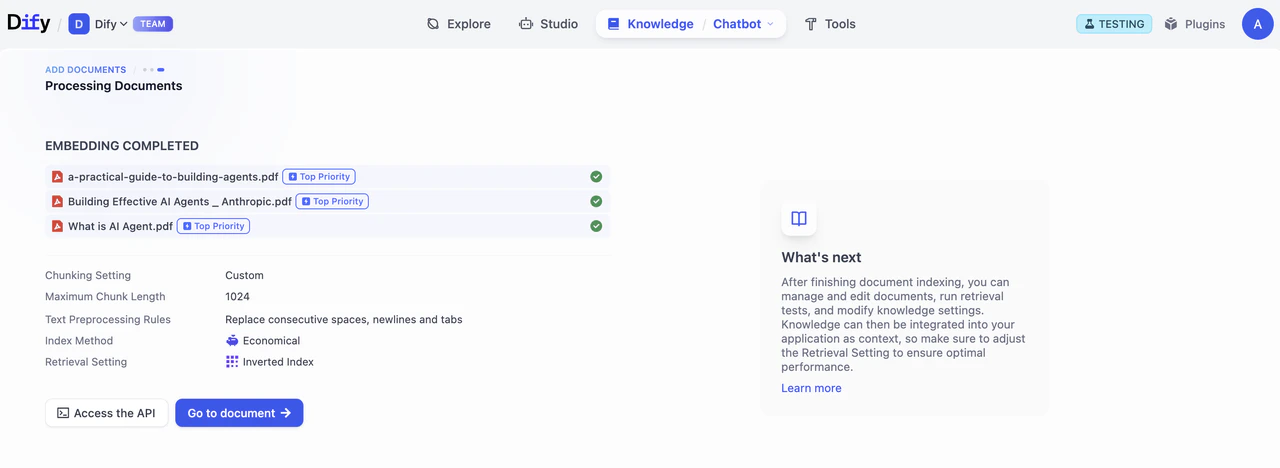
-
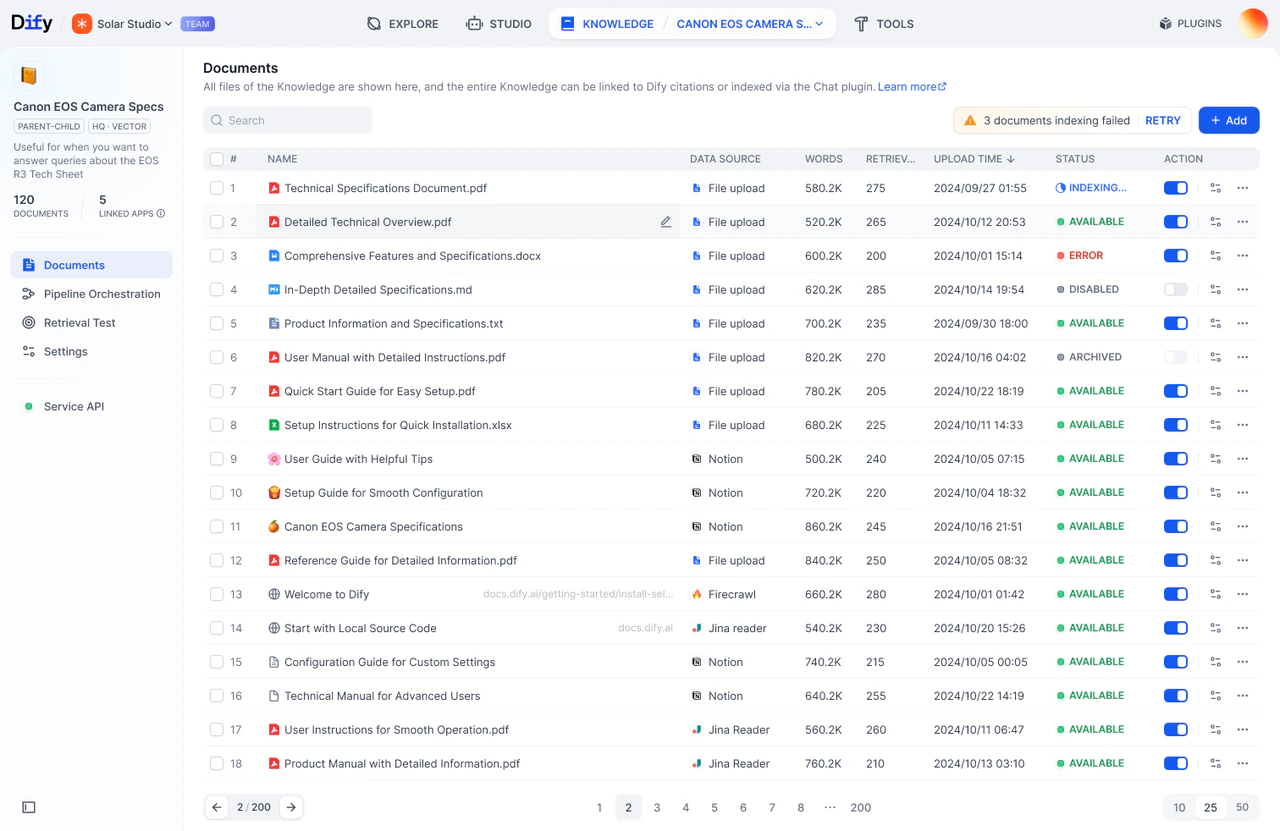
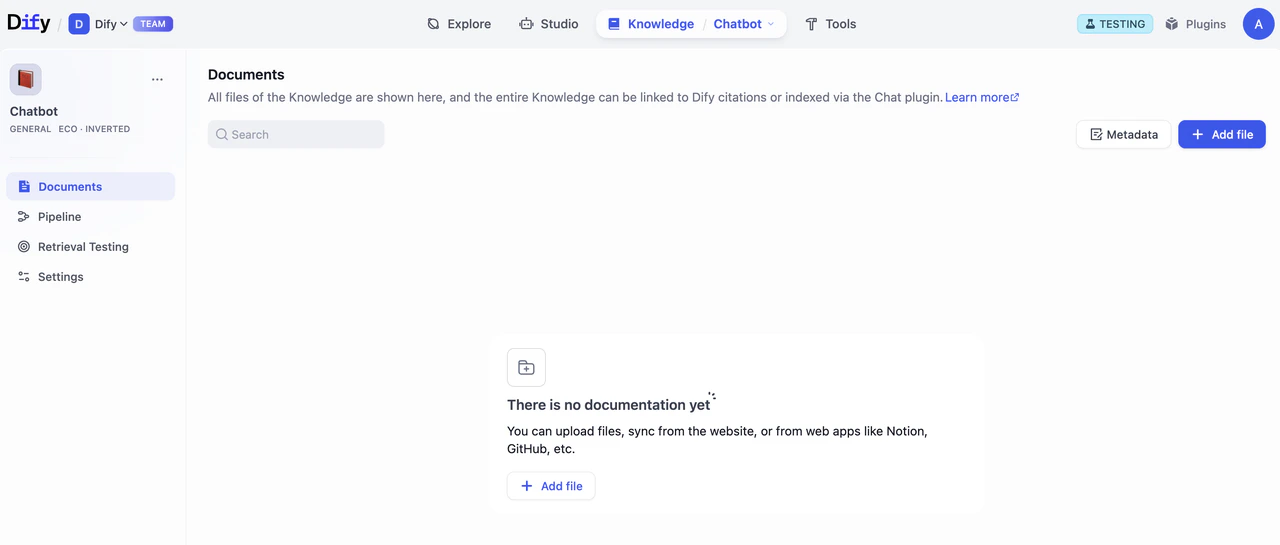
Access Documents List
Click Go to Documents to view the Documents page, where you can browse all uploaded file, processing status, etc.