接入预定义模型

请确保你已创建模型供应商,接入预定义模型大致分为以下步骤:

  1. 按模型类型创建不同的模块结构

    根据模型的类型(如 llmtext_embedding),在供应商模块下创建相应的子模块。确保每种模型类型有独立的逻辑分层,便于维护和扩展。

  2. 编写模型调用代码

    在对应的模型类型模块下,创建一个与模型类型同名的 Python 文件(例如 llm.py)。在文件中定义实现具体模型逻辑的类,该类应符合系统的模型接口规范。

  3. 添加预定义模型配置

    如果供应商提供了预定义模型,为每个模型创建与模型名称同名的 YAML 文件(例如 claude-3.5.yaml)。按照 AIModelEntity 的规范编写文件内容,描述模型的参数和功能。

  4. 测试插件

    为新增的供应商功能编写单元测试和集成测试,确保所有功能模块符合预期,并能够正常运行。


以下是接入详情:

1. 按模型类型创建不同的模块结构

模型供应商下可能提供了不同的模型类型,例如 Openai 提供了 llmtext_embedding 等模型类型。需在供应商模块下创建相应的子模块,确保每种模型类型有独立的逻辑分层,便于维护和扩展。

当前支持模型类型如下:

  • llm 文本生成模型

  • text_embedding 文本 Embedding 模型

  • rerank Rerank 模型

  • speech2text 语音转文字

  • tts 文字转语音

  • moderation 审查

Anthropic 为例,系列模型内仅包含 LLM 类型模型,因此仅需在 /models 路径下新建 /llm 文件夹,并新增不同型号模型的 yaml 文件。详细代码结构请参考 GitHub 代码仓库

├── models
   └── llm
       ├── _position.yaml
       ├── claude-2.1.yaml
       ├── claude-2.yaml
       ├── claude-3-5-sonnet-20240620.yaml
       ├── claude-3-haiku-20240307.yaml
       ├── claude-3-opus-20240229.yaml
       ├── claude-3-sonnet-20240229.yaml
       ├── claude-instant-1.2.yaml
       ├── claude-instant-1.yaml
       └── llm.py

若模型供应商内包含多种类型的大模型,例如 OpenAI 家族模型下包含 llmtext_embeddingmoderationspeech2texttts 类模型,则需要在 /models 路径下为每种类型创建对应的文件夹。结构如下:

├── models
   ├── common_openai.py
   ├── llm
      ├── _position.yaml
      ├── chatgpt-4o-latest.yaml
      ├── gpt-3.5-turbo.yaml
      ├── gpt-4-0125-preview.yaml
      ├── gpt-4-turbo.yaml
      ├── gpt-4o.yaml
      ├── llm.py
      ├── o1-preview.yaml
      └── text-davinci-003.yaml
   ├── moderation
      ├── moderation.py
      └── text-moderation-stable.yaml
   ├── speech2text
      ├── speech2text.py
      └── whisper-1.yaml
   ├── text_embedding
      ├── text-embedding-3-large.yaml
      └── text_embedding.py
   └── tts
       ├── tts-1-hd.yaml
       ├── tts-1.yaml
       └── tts.py

建议将所有模型配置都准备完毕后再开始模型代码的实现,完整的 YAML 规则请参考模型设计规则。如需查看更多代码详情,请参考示例 Github 代码仓库

2. 编写模型调用代码

接下来需要在 /models 路径下创建 llm.py 代码文件。以 Anthropic 为例,在 llm.py 中创建一个 Anthropic LLM 类并取名为 AnthropicLargeLanguageModel,继承 __base.large_language_model.LargeLanguageModel 基类。

以下是部分功能的示例代码:

  • LLM 调用

    请求 LLM 的核心方法,同时支持流式和同步返回。

def _invoke(self, model: str, credentials: dict,
            prompt_messages: list[PromptMessage], model_parameters: dict,
            tools: Optional[list[PromptMessageTool]] = None, stop: Optional[list[str]] = None,
            stream: bool = True, user: Optional[str] = None) \
        -> Union[LLMResult, Generator]:
    """
    Invoke large language model

    :param model: model name
    :param credentials: model credentials
    :param prompt_messages: prompt messages
    :param model_parameters: model parameters
    :param tools: tools for tool calling
    :param stop: stop words
    :param stream: is stream response
    :param user: unique user id
    :return: full response or stream response chunk generator result
    """

在实现时,需要注意使用两个函数来分别处理同步返回和流式返回。这是因为 Python 中含有 yield 关键字的函数会被识别为生成器函数,其返回类型固定为 Generator。为了保证逻辑清晰并适应不同返回需求,同步返回和流式返回需要独立实现。

以下是示例代码(示例中参数进行了简化,实际实现时请根据完整参数列表编写):

def _invoke(self, stream: bool, **kwargs) -> Union[LLMResult, Generator]:
    """根据返回类型调用对应的处理函数。"""
    if stream:
        return self._handle_stream_response(**kwargs)
    return self._handle_sync_response(**kwargs)

def _handle_stream_response(self, **kwargs) -> Generator:
    """处理流式返回逻辑。"""
    for chunk in response:  # 假设 response 是流式数据迭代器
        yield chunk

def _handle_sync_response(self, **kwargs) -> LLMResult:
    """处理同步返回逻辑。"""
    return LLMResult(**response)  # 假设 response 是完整的响应字典
  • 预计算输入 tokens 数

如果模型未提供预计算 tokens 的接口,可以直接返回 0,用于表明该功能不适用或未实现。例如:

def get_num_tokens(self, model: str, credentials: dict, prompt_messages: list[PromptMessage],
                   tools: Optional[list[PromptMessageTool]] = None) -> int:
    """
    Get number of tokens for given prompt messages

    :param model: model name
    :param credentials: model credentials
    :param prompt_messages: prompt messages
    :param tools: tools for tool calling
    :return:
    """
  • 调用异常错误映射表

当模型调用异常时需要映射到 Runtime 指定的 InvokeError 类型,方便 Dify 针对不同错误做不同后续处理。

Runtime Errors:

  • InvokeConnectionError 调用连接错误

  • InvokeServerUnavailableError 调用服务方不可用

  • InvokeRateLimitError 调用达到限额

  • InvokeAuthorizationError 调用鉴权失败

  • InvokeBadRequestError 调用传参有误

@property
def _invoke_error_mapping(self) -> dict[type[InvokeError], list[type[Exception]]]:
    """
    Map model invoke error to unified error
    The key is the error type thrown to the caller
    The value is the error type thrown by the model,
    which needs to be converted into a unified error type for the caller.

    :return: Invoke error mapping
    """

完整代码详情请参考 Github 代码仓库

3. 添加预定义模型配置

如果供应商提供了预定义模型,为每个模型创建与模型名称同名的 YAML 文件(例如 claude-3.5.yaml)。按照 AIModelEntity 的规范编写文件内容,描述模型的参数和功能。

claude-3-5-sonnet-20240620 模型示例代码:

model: claude-3-5-sonnet-20240620
label:
  en_US: claude-3-5-sonnet-20240620
model_type: llm
features:
  - agent-thought
  - vision
  - tool-call
  - stream-tool-call
  - document
model_properties:
  mode: chat
  context_size: 200000
parameter_rules:
  - name: temperature
    use_template: temperature
  - name: top_p
    use_template: top_p
  - name: top_k
    label:
      zh_Hans: 取样数量
      en_US: Top k
    type: int
    help:
      zh_Hans: 仅从每个后续标记的前 K 个选项中采样。
      en_US: Only sample from the top K options for each subsequent token.
    required: false
  - name: max_tokens
    use_template: max_tokens
    required: true
    default: 8192
    min: 1
    max: 8192
  - name: response_format
    use_template: response_format
pricing:
  input: '3.00'
  output: '15.00'
  unit: '0.000001'
  currency: USD

4. 调试插件

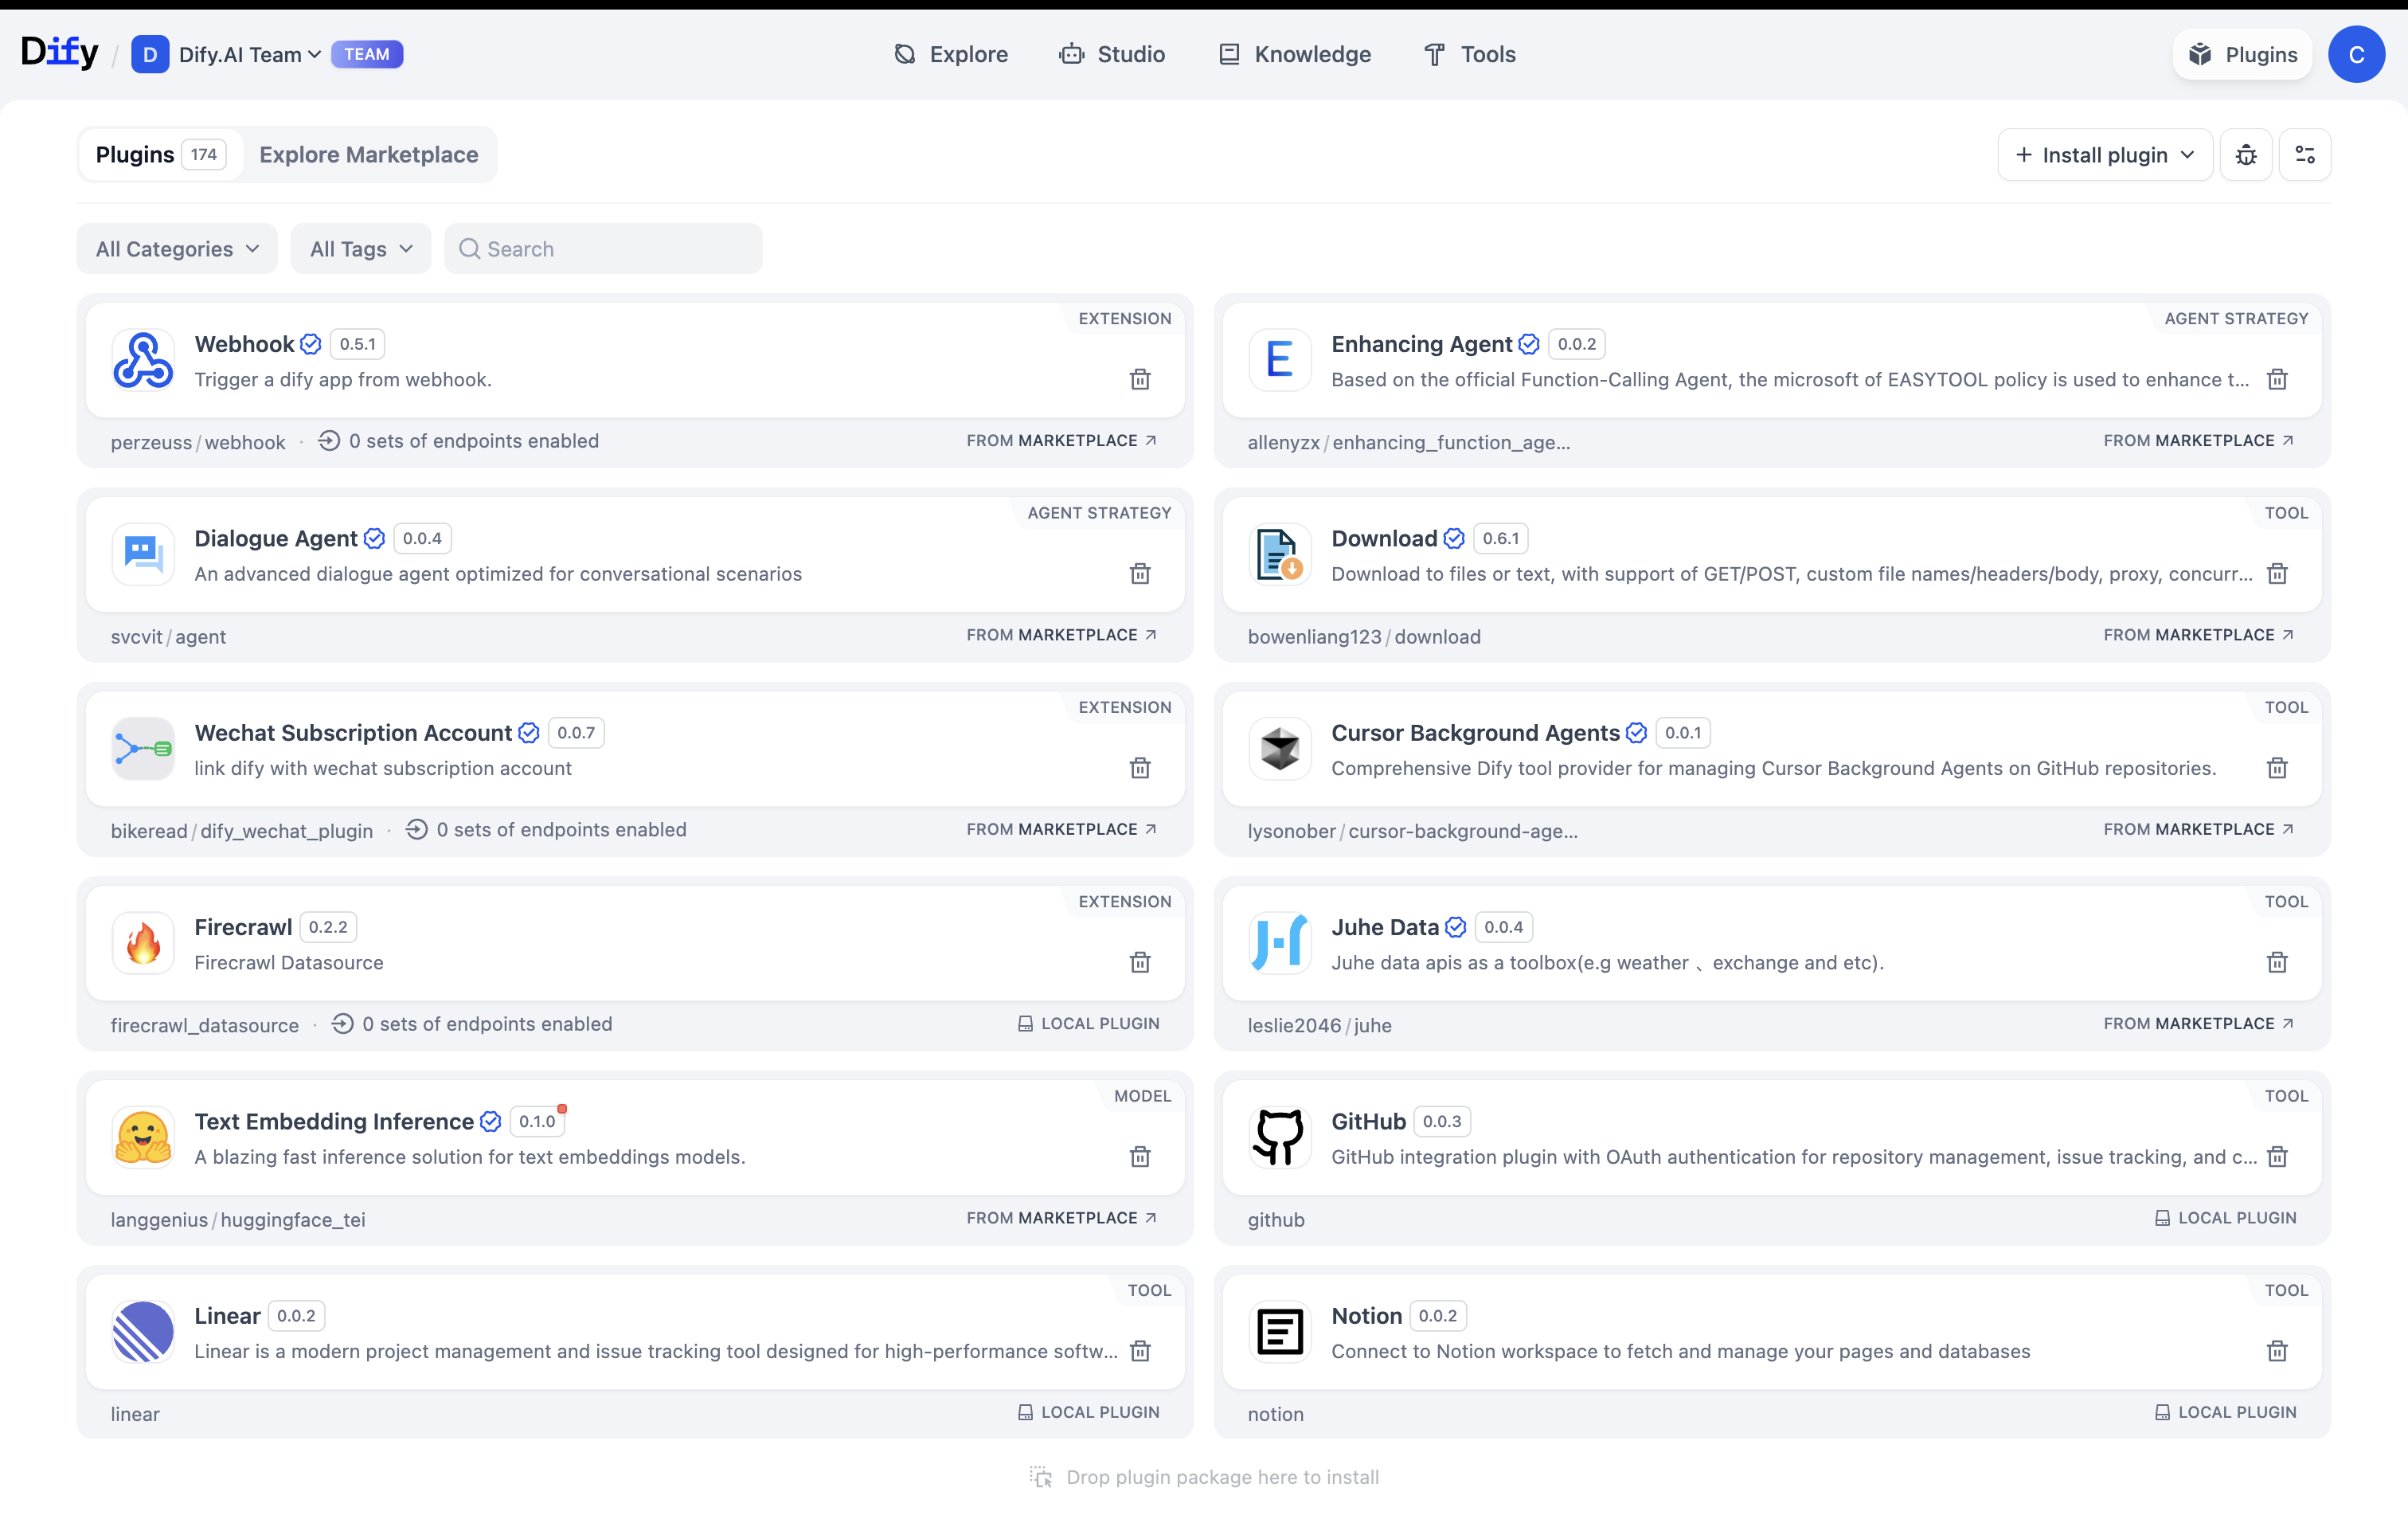
接下来需测试插件是否可以正常运行。Dify 提供远程调试方式,前往“插件管理”页获取调试 Key 和远程服务器地址。

回到插件项目,拷贝 .env.example 文件并重命名为 .env,将获取的远程服务器地址和调试 Key 等信息填入其中。

.env 文件

INSTALL_METHOD=remote
REMOTE_INSTALL_HOST=remote-url
REMOTE_INSTALL_PORT=5003
REMOTE_INSTALL_KEY=****-****-****-****-****

运行 python -m main 命令启动插件。在插件页即可看到该插件已被安装至 Workspace 内。其他团队成员也可以访问该插件。

你可以在“设置” → “模型供应商”输入 API Key 以初始化该模型供应商。

发布插件

现在可以将它上传至 Dify Plugins 代码仓库 来发布你的插件了!上传前,请确保你的插件遵循了插件发布规范。审核通过后,代码将合并至主分支并自动上线至 Dify Marketplace

探索更多

快速开始:

插件接口文档:

Last updated